Northern Lights Photography Guide: Stunning Smartphone Shots
We all want those perfect ‘Insta shots’ from our holidays—the kind that make people comment on how incredible our trip looked. Capturing the Northern Lights can take that admiration to the next level. But while they’re unpredictable in timing, they’re also tricky to photograph once they appear. To help you bring home evidence of your sightings, here’s my Northern Lights Photography Guide for your next adventure.

While a phone with the right settings will do the job, these extras can make a big difference. You don’t need to go out and spend lots of money on fancy equipment, especially for something like the Northern Lights when you never know if they will materialise. These are a few items we would recommend that will help get the best results, aren’t too expensive and will come in handy for other occasions, not just Aurora Borealis hunting.
What You Need for the Best Chance:
- Mobile phone with night mode or manual settings (or an app that offers similar functionality).
- Tripod to keep your phone steady—no matter how still your hands are, the Northern Lights will put them to the test.
- Power bank to prevent your phone from shutting down due to the cold.
For Health and Safety:
- Head torch to see where you’re stepping and to help set up your camera.
- Warm layers—there’s no telling how long you’ll be outside waiting for the lights to appear.
- Touchscreen gloves to keep frostbite at bay while using your phone.
Optional Extras:
- Lens attachment to improve your phone’s low-light performance.
- Hand warmers—keep them near your phone to stop it from shutting down in extreme cold.
- Remote shutter release to take photos without touching your phone, reducing vibrations.
Setting Up for the Perfect Shot
Imagine yourself in the middle of nowhere, free from light pollution. The sky is clear, and you have an open, unobstructed view. Before you start, check a Northern Lights forecast app to increase your chances of success.
Now, it’s time to set up your equipment.
- Position your tripod and attach any shutter accessories. While not essential, they improve your chances of a blur-free photo.
- Test your setup beforehand—practise at your hotel to avoid equipment failures on the icy hillside.
- Keep your power bank or hand warmers nearby—cold temperatures drain batteries faster than you’d expect.
Northern Lights Photography Guide for iPhone (11 or Newer)
- Open the Camera app and select Photo mode.
- Look for the Night Mode icon (a yellow crescent moon) in the top left.
- Tap the icon and set the exposure time to the maximum (10-30 seconds).
- Tap on the sky to focus, then slide your finger down to lower the exposure slightly.
- Use the timer (3-10 sec) or a remote shutter to avoid camera shake.
If your iPhone doesn’t have Night Mode or you want more control, try apps like ProCamera, NightCap Camera, or Halide. These allow manual adjustments similar to DSLR settings:
- ISO: Start at 800 and adjust as needed.
- Shutter speed: 4-15 seconds for brighter lights.
- Focus: Set to infinity (∞) for sharp details.
- White balance: 3500K-4000K for natural colours.
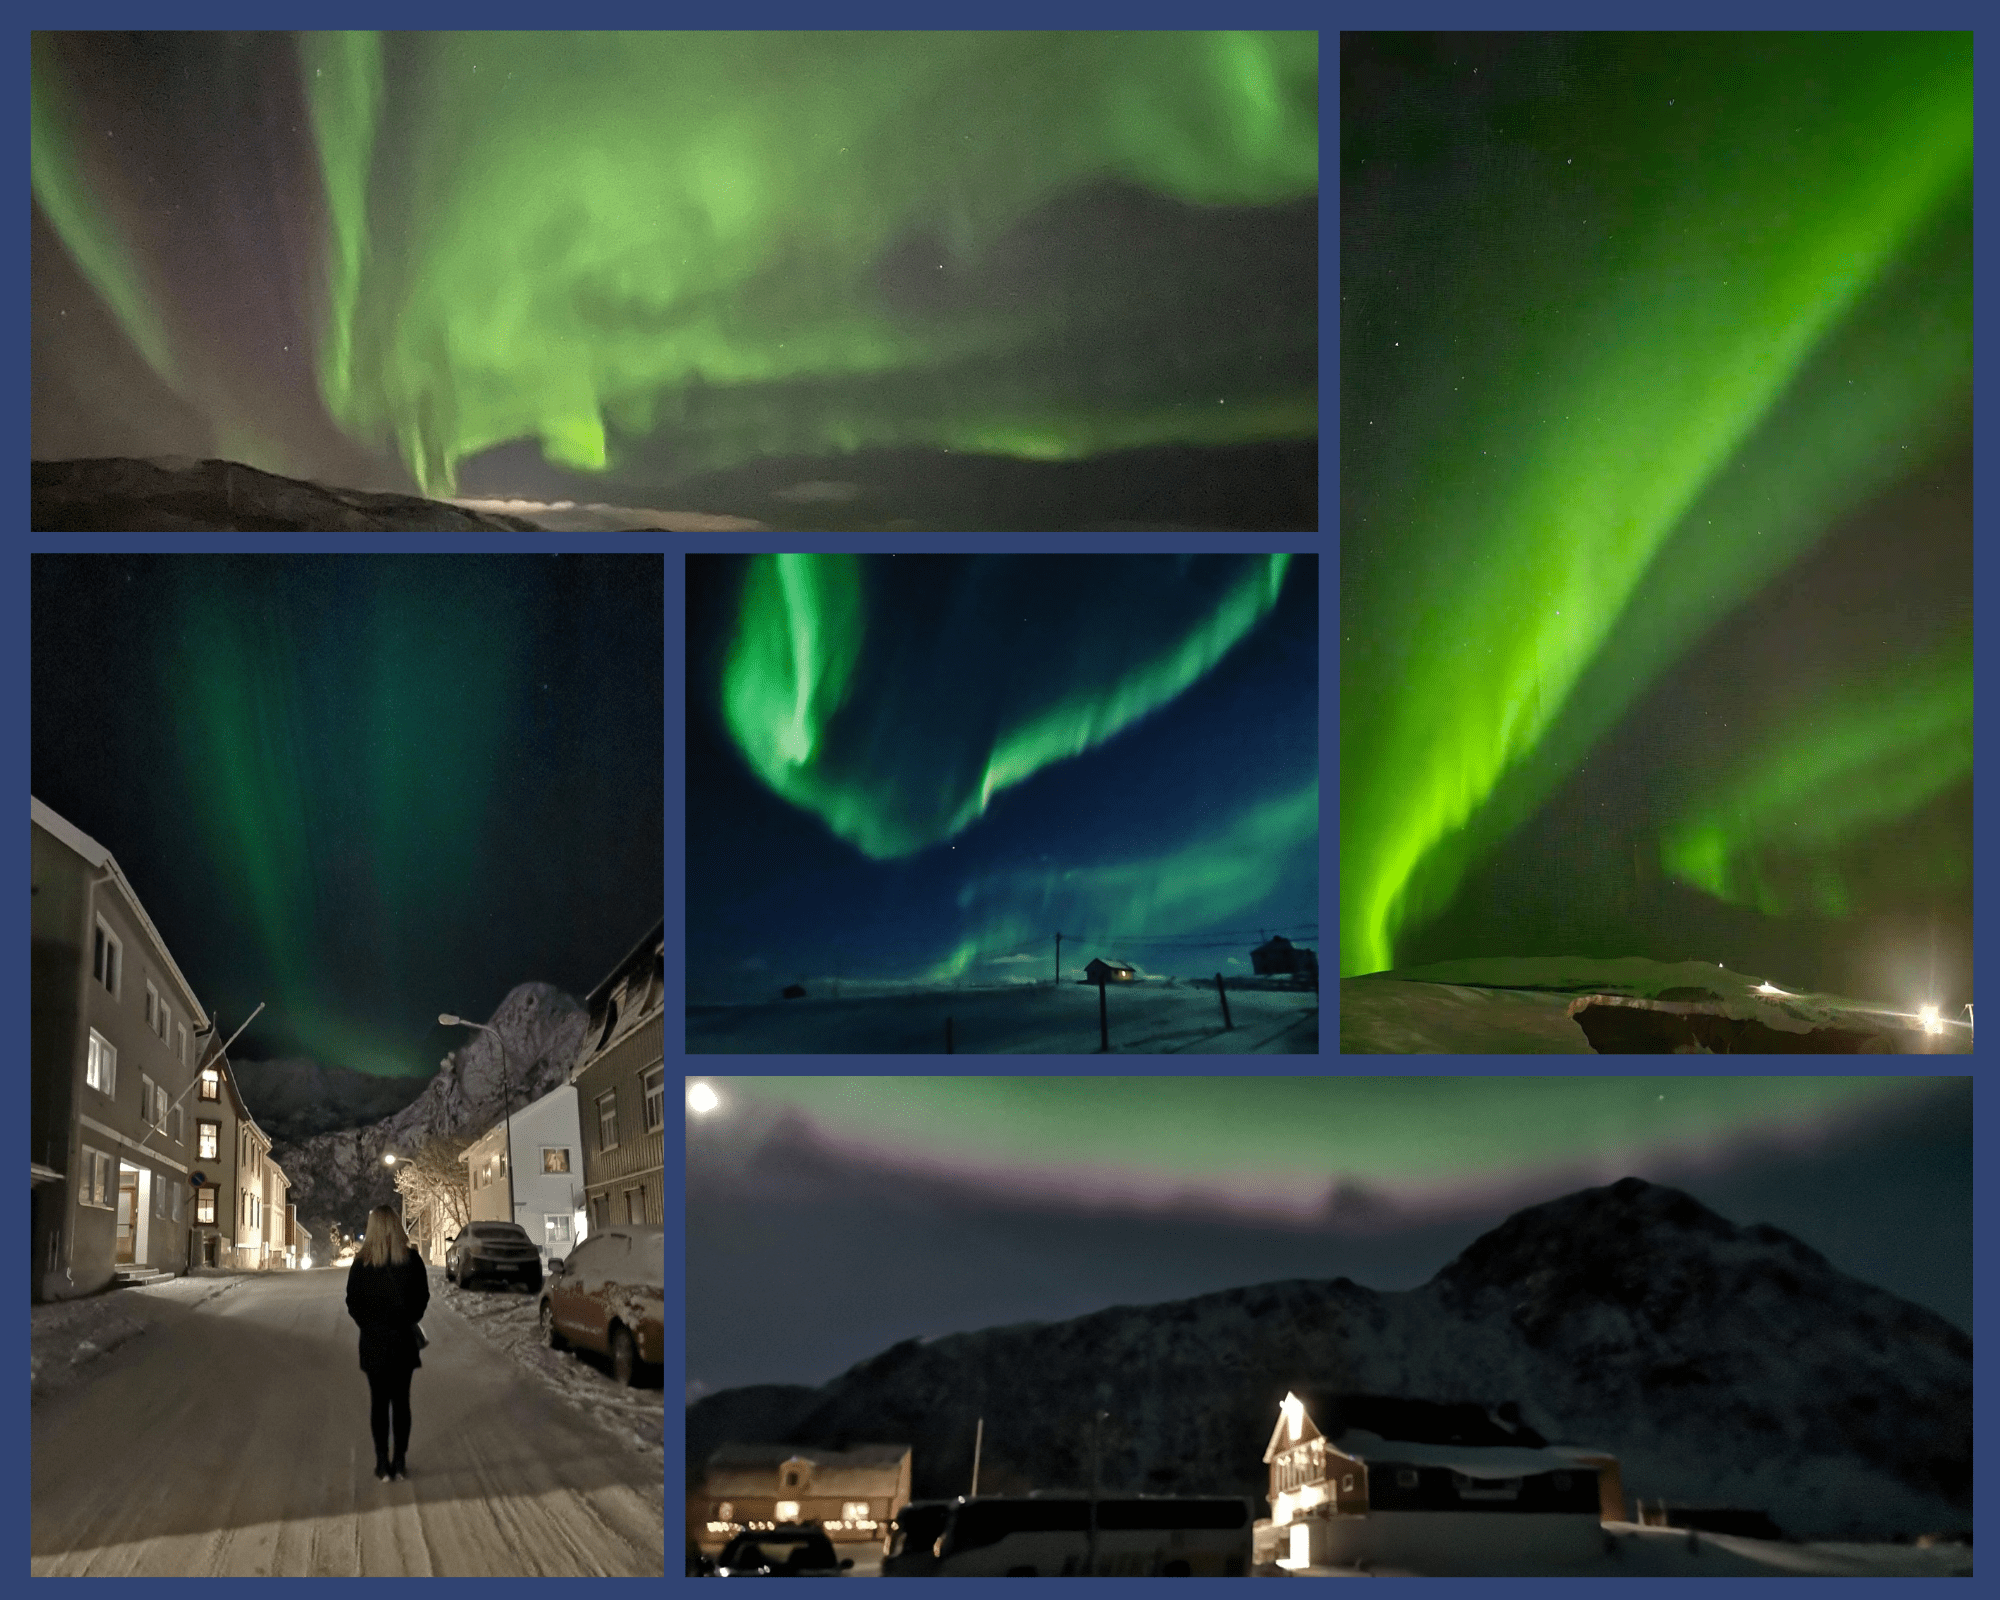
Here are just some of the many Northern Lights photos our team have captured while exploring the Magnetic North.
Annie’s Northern Lights Phone Photos:
Northern Lights Photography Guide for Android Phone
If Your Camera Has Night Mode
- Open the Camera app and switch to Night Mode (called “Night Sight” on Pixel or “Bright Night” on Samsung).
- Tap on the sky to focus, then adjust the brightness (EV slider) if needed.
- Increase the exposure time (if adjustable, set it between 5-30 seconds).
- Use the timer (3-10 sec) or a remote shutter to avoid vibrations.
If Your Phone Allows Full Manual Control
- ISO: Set between 800-3200 (higher values brighten the image but may add noise).
- Shutter speed: 4-15 seconds (longer for faint auroras).
- Focus: Set to infinity (∞) for sharp stars and auroras.
- White balance: 3500K-4000K for natural colours.
- RAW format: Enable RAW (if available) for better editing flexibility later.
Long exposure photography keeps the camera’s shutter open for an extended time, capturing more light. However, any movement while the shutter is open will blur your image. That’s why using a tripod and a remote shutter (or timer) is essential to keeping your shots crisp.
Alex’s Northern Lights Phone Photos:
We hope our Northern Lights Photography Guide has given you some hints and tips for a good starting point for your very own photography session. We love seeing our clients snaps, please share any of your Northern Lights sightings with our team!


